Last year on the way back from our annual camping trip to Hatteras Village one of the camper tires on our fifth wheel blew out at 75 miles per hour. It sounded like a cannon went off back there and gave us quite a scare as a result. I blame the guy that kept driving in my blind spot for that. I would speed up and he'd speed up. I'd slow down and he would slow down. It was my last attempt to get ahead of him that caused the tire to go.
Well anyway, we promply replaced all of the tires with G rated tires that should have no problem in the future, but since then I have been keeping the rig under 70, just in case.
All of this resulted in a bent axle. Les noticed it late last year after moving it into a camping spot - the new tire was sticking out at the bottom; basically sitting on the hub at an angle. After changing the bearings it was obvious that the axle was bent. We ordered a new one and were shocked that it was only $160!! The picture below is of the new axle. Check out all the pics and their captions to see how we changed it out. It was surprisingly easy!!
 This is the new axle. Only $160 and not too heavy. The job should be simple: unbolt the old axle from the rig, remove the hubs and brake assemblies, then bolt the new axle on and put the old hubs back on it.
 This is the old axle on the camper after we jacked it up. Note that the bend you see is normal and not the damaged part.
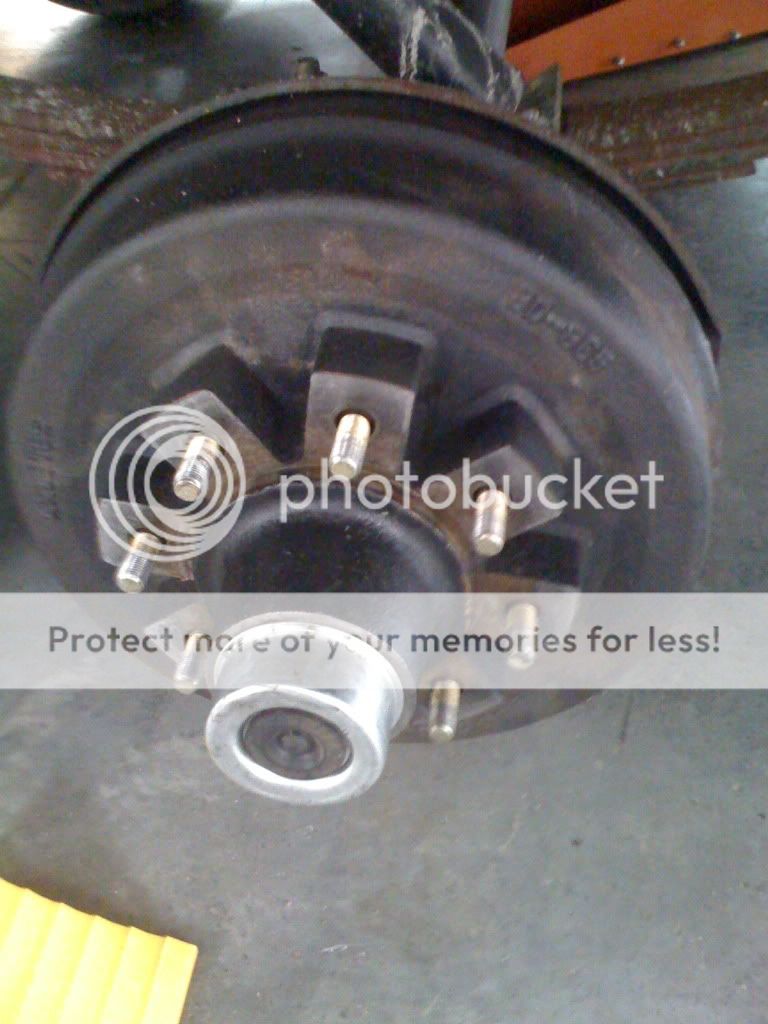 Once the tires are removed, the hub is revealed.
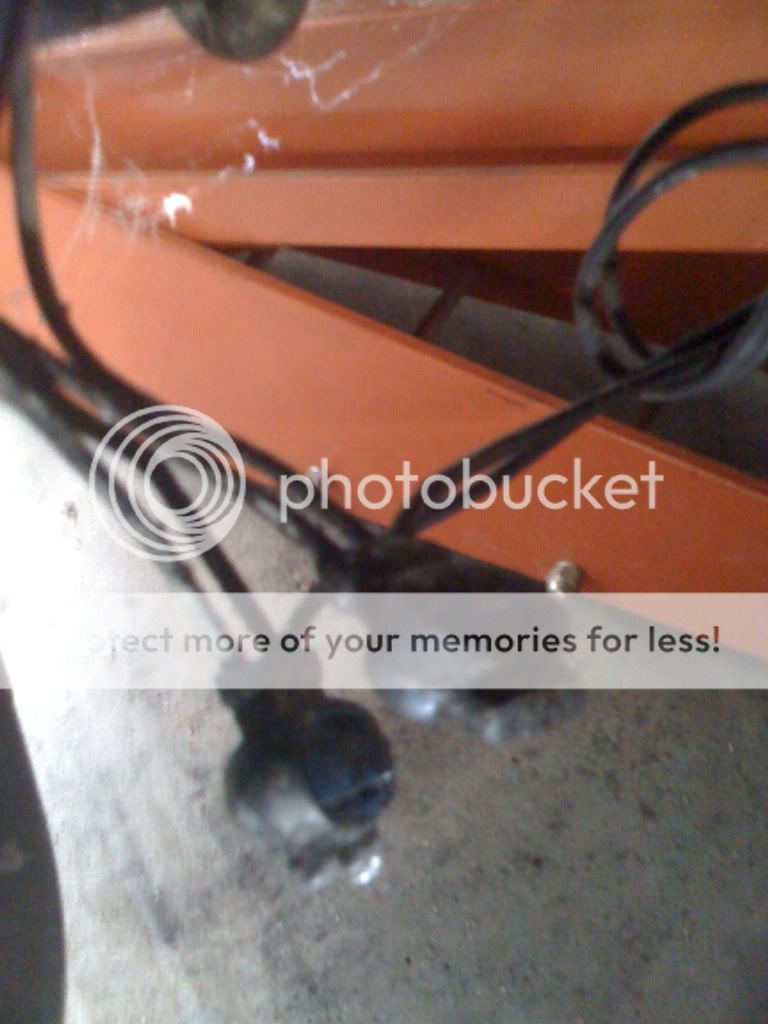 The trailer uses electric brakes. My father in law, Stan, was there to help and he took charge of the wiring. He has a natural talent for that stuff. He cut the wires and took mental notes of how to put them back together once the new axle was on.
 The axle is bolted onto the rig using two U bolts on each side of the camper. Using a 3/4 inch ratchet wrench, we easily removed the bolts. In this pic you can see the old axle after it was dropped.
  In this pic you can see the inside of the brake assembly once the hub and bearings are removed. There are 5 14mm bolts holding it to the axle. We easily removed them using an air ratchet and a hammer.
  The new axle bolted onto the camper. It's in place and ready for the hubs.
  The brake assemblies are back on now. It doesn't get any easier than this.
  The bearings and hub installed.
 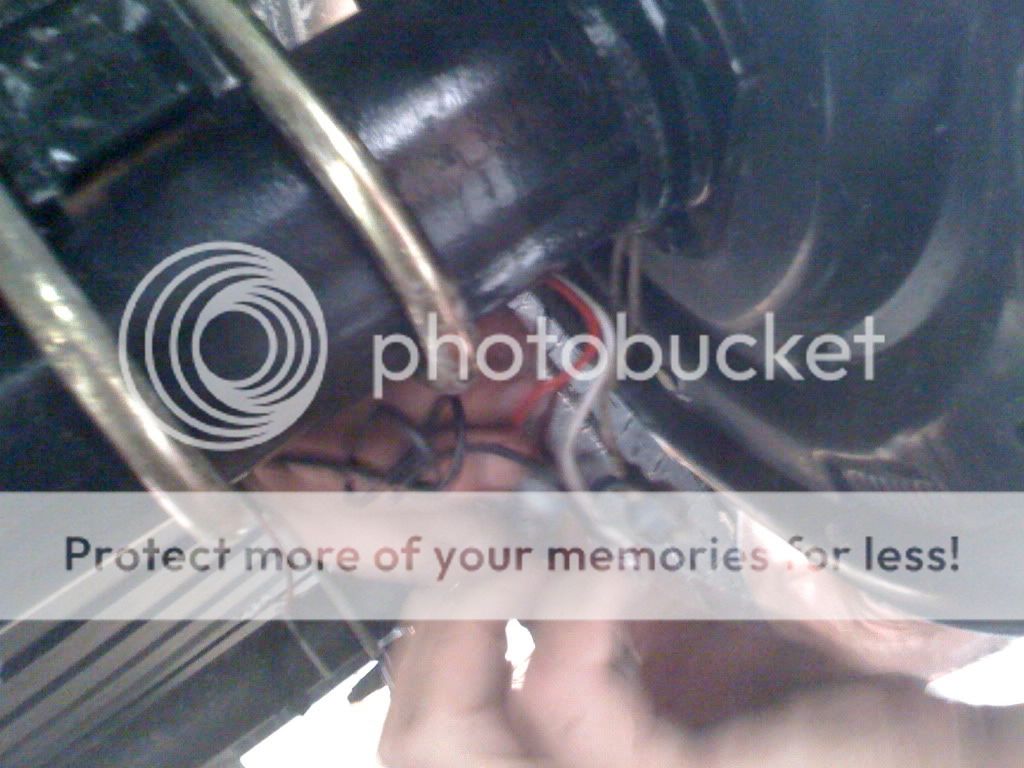 After connecting the trailer to the truck we discovered that there was a short in the wiring. Stan solved the problem a few minutes later.
  A little helper assisted with the wheels.
 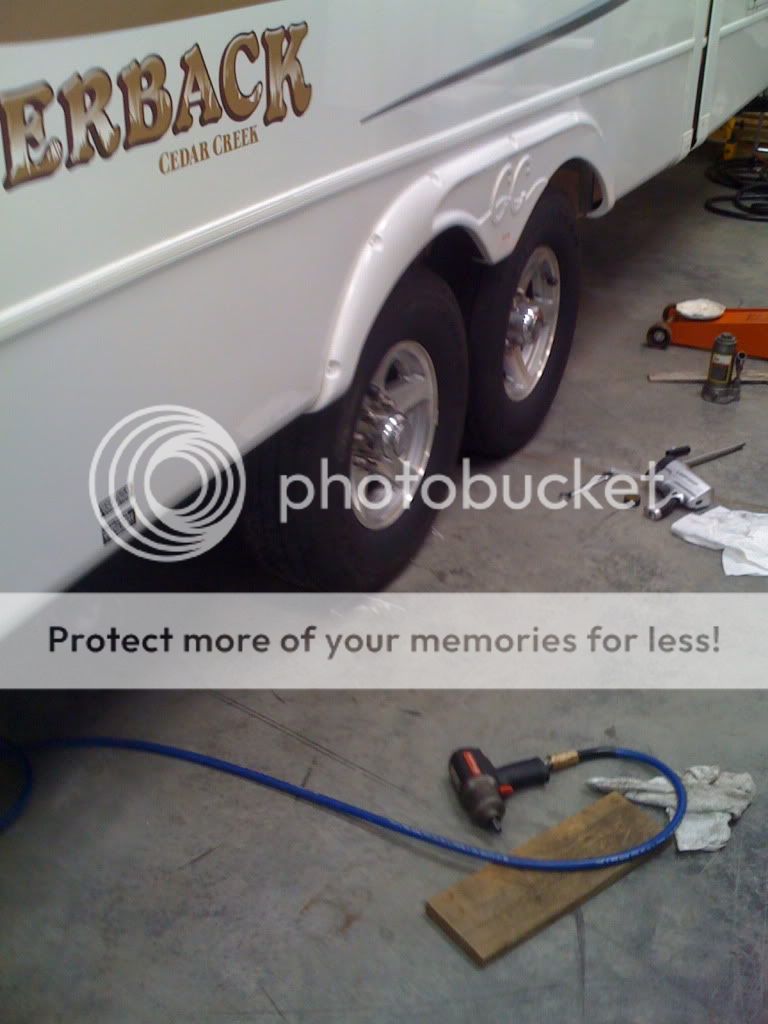 All done and no more crooked wheel!!


